Honestly, I wasn’t sure I’d use Maya Credit much when I first saw it in the app. But life happens, and sometimes you need a little extra help—whether it’s covering a bill that popped up out of nowhere or grabbing something you’ve had your eye on but didn’t plan to buy just yet. So, I gave Maya Credit a try, and here’s what I’ve learned, from enabling it to actually using it in everyday situations.
Step 1: Enabling Maya Credit (Surprisingly Quick!)
The setup process was a breeze, which I didn’t expect at first. Here’s what I did:
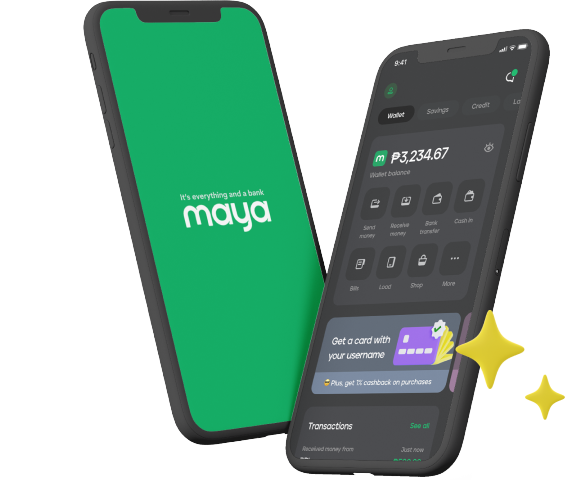
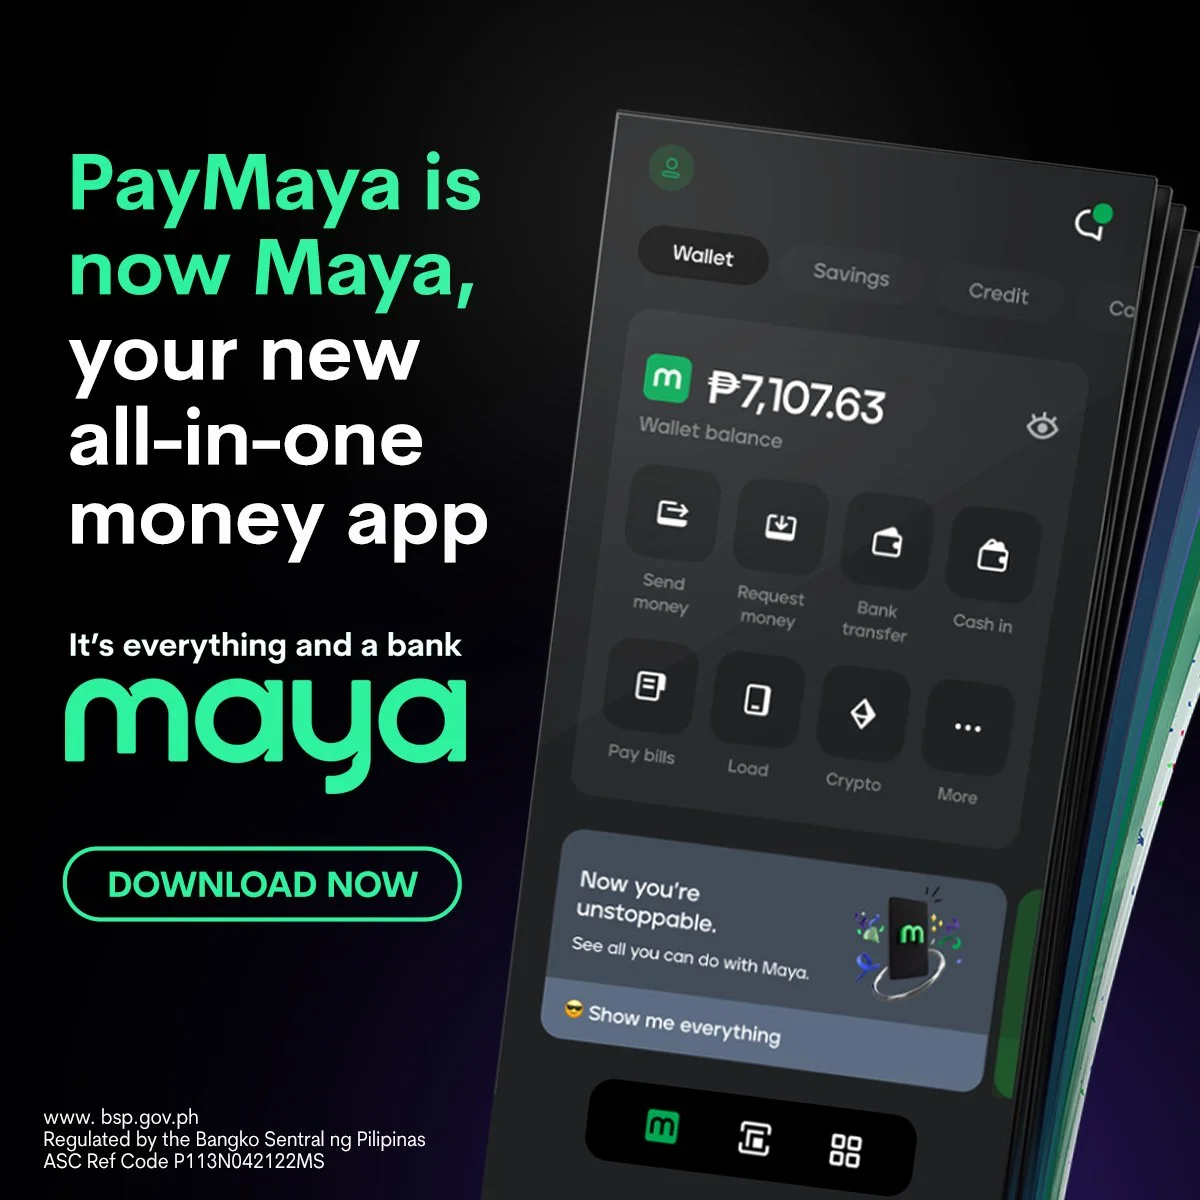
- Opened the Maya App – Make sure you’re up to date with the latest version! Maya’s Credit option is right on the main dashboard.
- Tapped on “Credit” – I clicked into “Credit,” expecting maybe a long form or something, but it was easy.
- Submitted Basic Details – They asked for my income and ID (normal stuff), and I just filled it in. It only took a couple of minutes.
- Approval – This part was quick! I got a notification in less than an hour saying my application was approved, and my credit was available.
Pro Tip: If you’re verified in Maya, it’ll make things smoother. Verification is key, so get that done first if you haven’t already.
Step 2: Actually Using Maya Credit (Very Handy)
Here’s where it got useful. Having Maya Credit feels like a little safety net for emergencies or last-minute needs, and here’s how I ended up using it:
- For Online Shopping
My first use was actually shopping online. I used Maya Credit to grab a couple of things without dipping into my savings. Just choose “Maya Credit” at checkout on supported sites—it’s like using a credit card, super straightforward. - Transferring to My Maya Wallet
This feature is gold! You can transfer credit straight to your Maya wallet, and it’s there instantly. I used this to pay a utility bill directly from the wallet. It’s great for those “oh, I forgot to pay the bill” moments. - Paying Bills
Sometimes, I don’t have all my bill funds in hand, so I use Maya Credit to cover it, then repay over time. Just go to the “Bills” section in the app, select the bill, and pick Maya Credit—it’s as simple as that. - Repayment Process
Repayment has been manageable for me, especially since Maya shows all your payment deadlines in one place. I make it a habit to check the due dates and make repayments on time—helps keep the credit line open and builds a good credit standing too. - Tracking Spending
The app’s dashboard shows what I’ve spent and what’s left to pay. It’s easy to keep tabs, so I don’t end up using more than I can pay back. Plus, Maya sends reminders, which are great for someone like me who tends to forget.
Would I Recommend Maya Credit?
For me, Maya Credit has been a helpful backup, especially for unexpected expenses. The key is to stay on top of repayments—just like with any other credit product. As long as you’re mindful, it’s a convenient and flexible way to handle those moments when you need a bit of a cushion.
So, that’s my experience! If you’re thinking about trying Maya Credit, I’d say go for it—but treat it like a handy tool, not a crutch. And if you keep those due dates in mind, it can be a real lifesaver!